Prevent Identity theft from old hard drives:
1. Download and extract clafe03.img & rawwrite.exe from the zip archive
2. Run rawrite from a command prompt to create a bootable floppy containing autoclave. rawrite will prompt you for the name of the image and the floppy name as shown below.
C:\My Documents\tmp>dir
Directory of C:\My Documents\tmp
01/28/2007 01:16 PM
01/28/2007 01:16 PM ..
04/09/2002 12:58 PM 1,474,560 clave03.img
07/28/1996 12:58 PM 14,305 rawrite.exe
2 File(s) 1,488,865 bytes
2 Dir(s) 24,516,186,112 bytes free
C:\My Documents\tmp>rawrite
Enter disk image source file name: clave03.img
Enter target diskette drive: a:
Please insert a formatted diskette into drive A: and press -ENTER- :
C:\My Documents\tmp>a:
A:\>dir
Directory of A:\
04/09/2002 12:58 PM 1,163 boot.msg
04/09/2002 12:58 PM 479,737 initrd.gz
04/09/2002 12:58 PM 1,195 legal.msg
04/09/2002 12:58 PM 18,009 LICENSE.TXT
04/09/2002 12:58 PM 1,271 other.msg
04/09/2002 12:58 PM 165 syslinux.cfg
04/09/2002 12:58 PM 629,389 vmlinuz
04/09/2002 12:58 PM 7,060 LDLINUX.SYS
8 File(s) 1,137,989 bytes
0 Dir(s) 317,440 bytes free
3. Boot the computer with the drive to be erased using the Autoclave floppy. 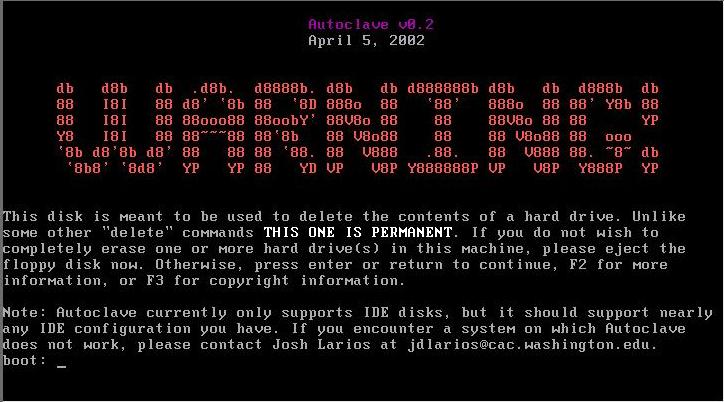
The initial warning is followed by a request to confirm you want to proceed to DESTROY all data on the selected disk(s). To continue, you must type "I understand.", including the period but not including the quotation marks. This is to make sure you know that using Autoclave is irreversible.
4. Once you've confirmed that you understand the consequences, you should see a list of drives Autoclave has found in the computer: Enter a number to select the drive to wipe. Instructions to wipe more than one drive are covered at the end. For now, enter a single digit number to select a drive. When there is only one drive, so you would type "1" and hit return. If there were multiple drives, you could choose between them.
5. After you've chosen a drive, Autoclave will ask you how securely you wish to erase it. All of the options are slow. Option 3 is sufficient to prevent access to any proprietary business records that might have been stored on the disk and will keep prying eyes from getting at your personal documents, emails, bank account or credit card information that you may have stored on your computer.
6. If you have more than one hard drive in the machine to erase, follow steps 3-5 for the first drive. Once the first drive is being erased, type alt-F2 (hold down the "alt" key and press the "f2" key). You should be returned to step 2, and you'll have to type "I understand." again. Follow the steps again, but this time choose a different drive than the one you chose the first time. You should be aware that it's possible to choose the same drive you chose last time,don't try that. It won't complain about trying to use the same drive twice-and will slow the process down incredibly. If you have yet another drive, hit alt-f3 to get another return to step 2. alt-f4 will get you another, and alt-f5 yet another. Autoclave only allows up to 5 drives. To check on the status of drives being erased other than the one currently being displayed, press alt-F1 through alt-F5 to go back and forth beteween screens.
Regards,
Chuck
No comments:
Post a Comment